
Build a DIY Generator Soundproof Box: 9 Easy Steps
As an outdoors enthusiast, you understand the importance of having a reliable generator to power your appliances and devices while camping or when you don’t have access to electricity. However, one of the major challenges that come with using a generator is the loud noise that it produces.
Fortunately, you can minimize the noise level of your generator by placing a soundproof box around it. This DIY project is not complicated and can significantly reduce the loud noise that the generator produces.
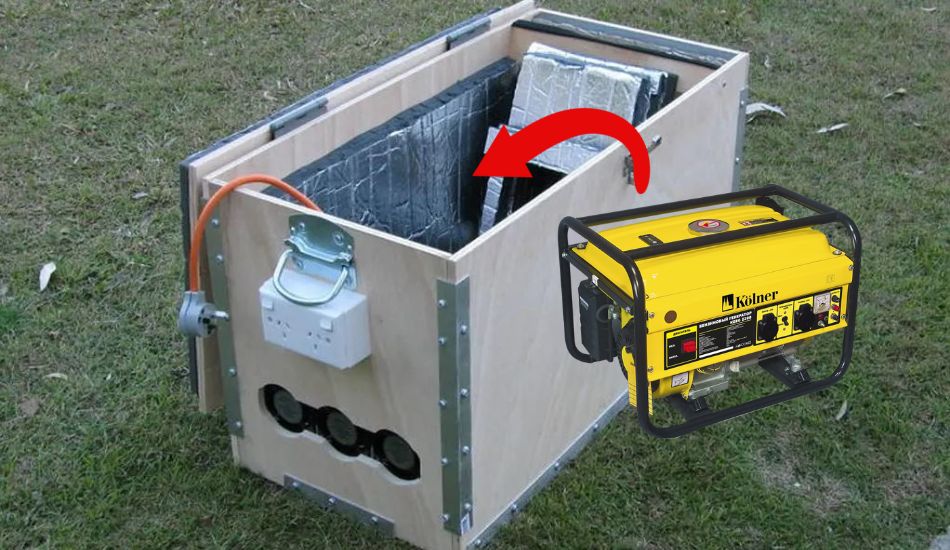
By placing your generator in a soundproof box, you can sleep soundly in your tent without being bothered by the loud noise that comes from a generator. The soundproofing box must have venting ducts so that heat can escape the box.
If you’re looking to build your own soundproof generator box, be sure to read this article. We will go through all the details on how to build a DIY soundproof box. So, let’s start!
Materials to Build a Soundproof Generator Enclosure

To build a soundproof generator enclosure, you need to have the right materials and tools. Here are the essential tools you’ll need for the project:
- Medium-density fiberboard (MDF) – for the box frame
- Mass-loaded vinyl (MLV) – to line the inside of the box and reduce noise
- Acoustic foam – to further dampen sound and vibrations
- Acoustical Sound Sealant – to seal all the joints and corners of the box
- A tape measure or ruler – to measure and mark the MDF board
- Green Glue – to seal gaps and improve sound insulation
- A paper and pencil – to make a sketch and plan out the dimensions and layout of the box.
- A drill – to make holes for ventilation ducts and other fittings
- A circular or table saw – to cut the MDF board to the right size and shape
- Ventilation ducts – to ensure proper air circulation
Related Article: How To Quiet A Noisy Attic Fan? 7 Easy Ways
7 Important Things When Building the Generator Quiet Box
As you embark on the task of building a DIY soundproof generator box, there are several important things to keep in mind.
- First and foremost, the box must be able to reduce the noise emitted by the generator by a minimum of 50%.
- Another important thing is the storage and portability of the generator box. This box will be used only during special circumstances, meaning it must be disassembled and stored in a small space when it is not used.
- The assembly and disassembly process should also be easy.
- The box parts must fit together to ensure effective noise reduction so that no sound passes through.
- Additionally, the box must have proper ventilation ports where the air will flow for sufficient generator cooling.
- Safety is also a significant concern when designing a soundproof generator box. The box must work even when the generator is in the garage without exposing anyone to high levels of carbon monoxide.
- Lastly, the quiet generator box should be designed to allow flexibility so that different types of generators can be placed in it.
Considering these seven criteria during the design process, you can create a soundproof generator box that effectively reduces noise while being safe, portable, and easy to assemble.
Related Article: How To Quiet A Noisy Air Conditioner? 9 Easy Ways
9 Steps How To Build A DIY Generator Quiet Box
If you work with a generator, you know how loud and disruptive it can be. Whether you’re using it for a camping trip or as a backup power source at home, you’ll want to minimize the noise it creates.
Luckily, building a DIY soundproof generator enclosure is a cost-effective solution that’s easy to construct and highly effective. To start building a DIY quiet generator box, there are several steps to follow. Here is a step-by-step guide:
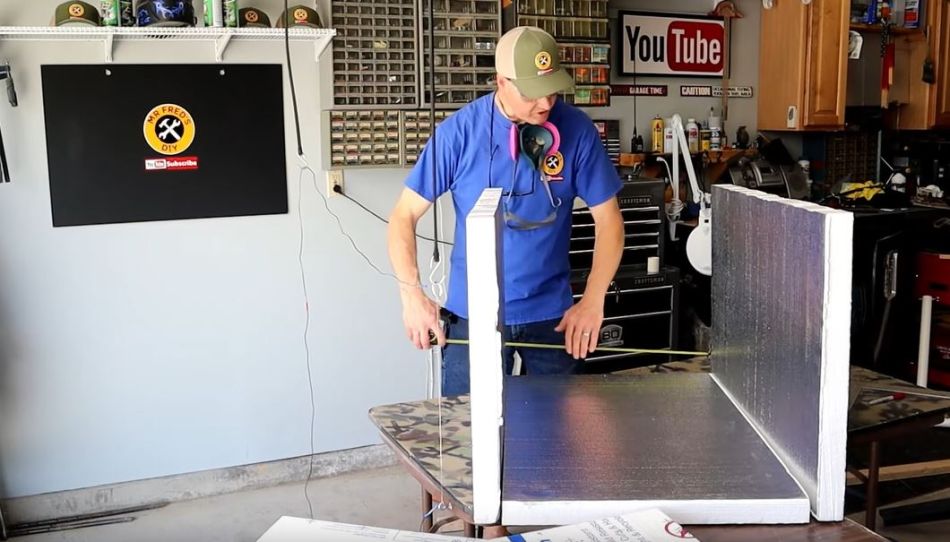
Step 1: Measure the Generator
The first step in building a soundproof generator box is to take accurate measurements. It is important to leave enough space on all sides of the box to accommodate the thickness of the soundboard, insulation, and ventilation properties.
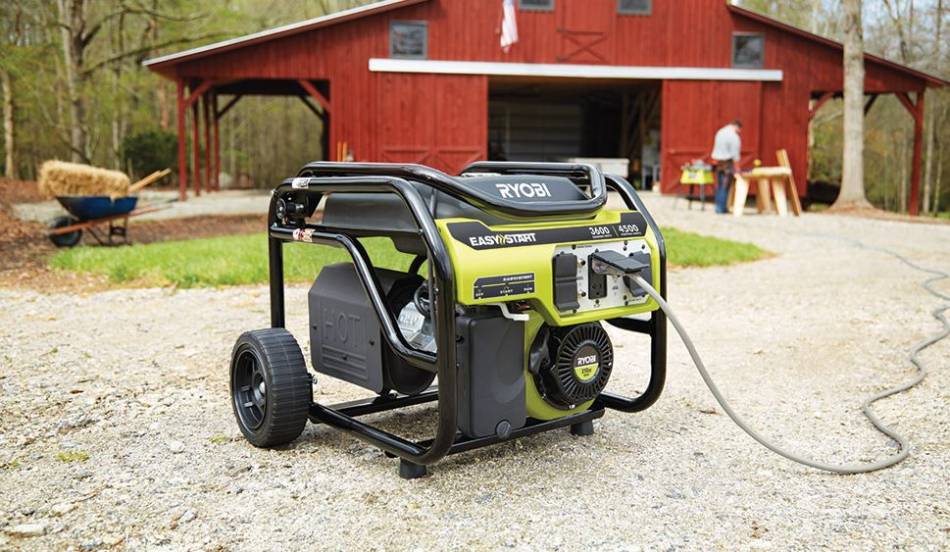
If you want to buy a NEW generator, check one HERE.
This will help avoid incorrect cutting of the soundboard. Additionally, if you plan to use the enclosure for multiple appliances, such as a generator, water pump, or compressor, consider taking measurements accordingly to ensure adequate space.
Step 2: Build A Soundproof Box Frame
You’ll need to cut out the sides and top of the box from the Medium Density Fiberboard (MDF) to build your soundproof generator box according to your earlier measurements. Be sure to label each piece by using a pencil to avoid any confusion later on.
It’s also essential to purchase the correct amount of MDF or soundboard beforehand to avoid any inconvenience in the future. Be sure to choose the best MDF material for your quiet box.
Related Article: How to Soundproof a Tent? 7 Effective Ways
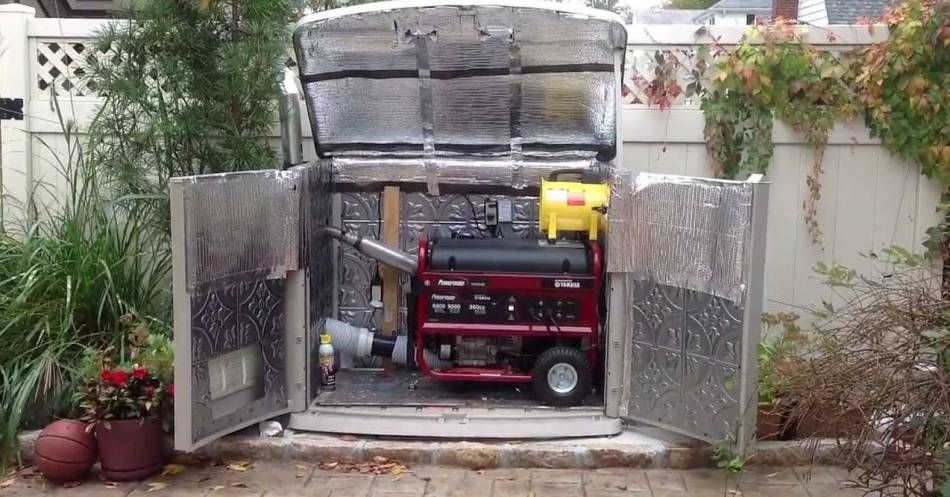
Step 3: Make 2 Holes For the Ventilation
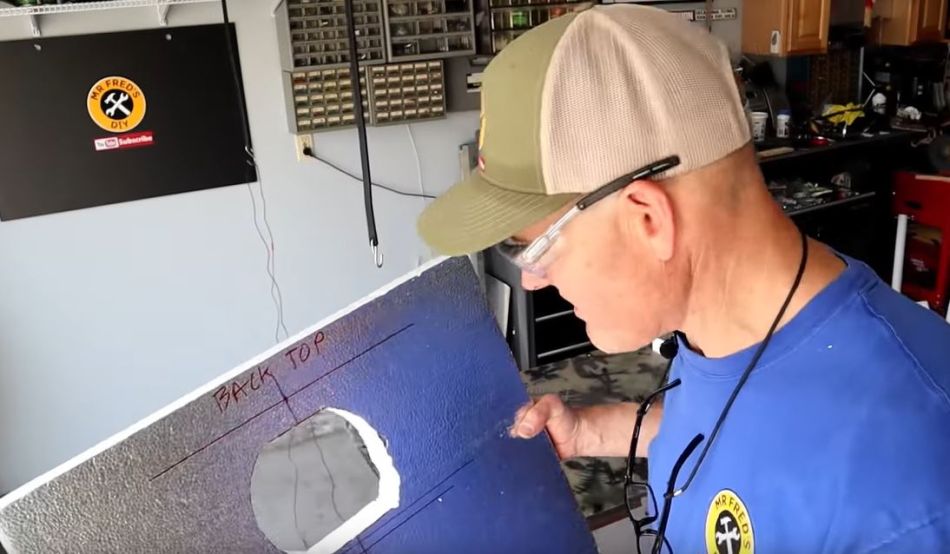
Creating ventilation in your soundproof box is very important to ensure proper airflow and prevent overheating of the enclosed generator. Start by measuring the diameter of generator ventilation ducts. After you’re done, mark them on the Medium Density Fiberboard (MDF) box for cutting.
The first ventilation duct should be placed above the enclosure, while the second duct should be cut on the side. After marking the holes, place the soundproof box on the flat workspace.
Step 4: Add A MLV Soundproofing Material

Adding multiple layers of sound-deadening materials that create free space is crucial for effective sound insulation. Therefore, the first layer to add is a mass-loaded vinyl (MLV) material specifically designed to block noise.
> Buy Mass-Loaded Vinyl HERE <
While the MLV material comes with adhesive, it may not be enough to block out all the noise. We recommend using the GreenGlue compound in your soundproofing strategy to maximize effectiveness. Adding this extra layer can significantly reduce the amount of noise that seeps through.
Not only is it effective in blocking out noise, but it’s also easy to use and apply. By sealing the edges of the MLV with GreenGlue, you can rest assured that no sound will penetrate through the cracks.
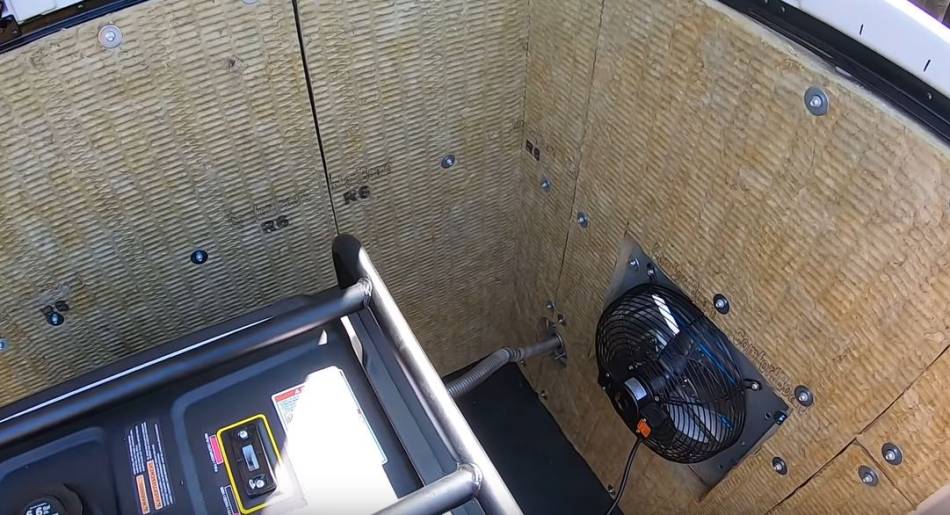
Step 6: Add the Vinyl Nitrile Closed Cell Foam

Once you’ve installed the MLV sound barrier material and sealed the edges with GreenGlue, it’s time to add another layer of soundproofing for better insulation. Vinyl Nitrile Closed Cell Foam is an excellent option for this task. Visit your hardware store and see if they have this type of foam.
To install the vinyl nitrile closed cell foam, measure it and cut it to fit your box. Make sure to glue it over your MLV layer. Be sure to use a strong adhesive to ensure that it stays in place. Once you’ve secured the foam matting, it’s time to seal the edges once again with GreenGlue. This step will ensure that there are no gaps or cracks in your soundproofing box.
Step 7: Assemble the DIY Generator Quiet Enclosure
After you’re done, it’s time to finish a quiet generator enclosure. To do so, start by attaching all 4 sides of the enclosure using either screws or nails. When connecting the walls, I always prefer using screws over nails, as they allow for easier modifications or disassembly in the future, should the need arise.
Once all 4 walls are securely attached, it’s time to place the top of the enclosure. Make sure to align it properly with the walls to ensure it stays in place. This step is crucial for ensuring that your generator remains quiet and undisturbed while it’s running.
Related Article: How To Make Office Chair Stop Squeaking?
Step 8: Install The Extended Exhaust On Generator Soundproof Box
Proper ventilation is crucial for the smooth functioning of a DIY soundproof generator box. Without it, your generator can overheat, causing potential danger. Therefore, it’s imperative to supply adequate ventilation inside the enclosure.
To vent the exhaust from the DIY generator box, use venting ducts with multiple bends. Be sure to bend and curve the ducts to reduce the sound. After cutting the necessary holes in the enclosure, thread and secure the ducts.
By ensuring that your generator gets enough air and proper ventilation, you can rest assured that it will function smoothly and quietly.
Step 9: Test Your DIY Generator Soundproof Enclosure
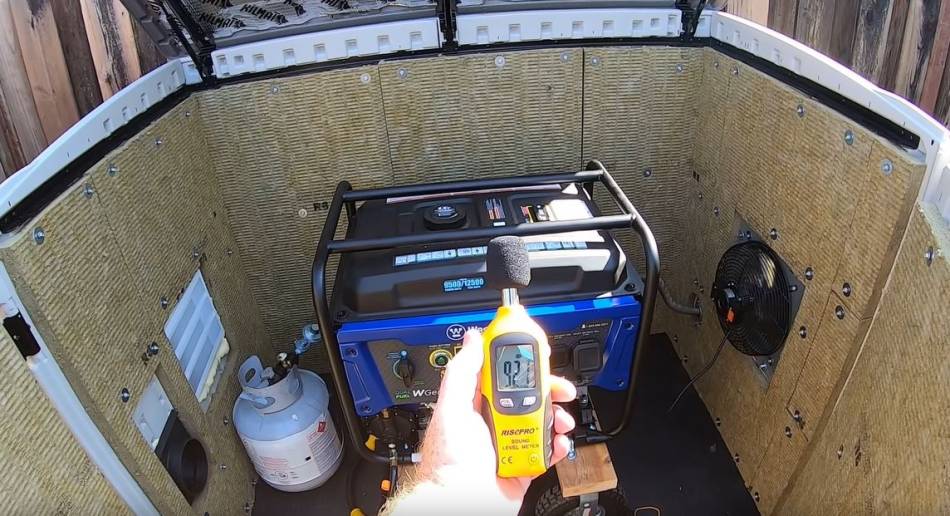
After you have made a DIY soundproof generator box, test it. First, put the generator in an open space, turn it on, and measure how much noise it makes. Then put it in a DIY soundproof enclosure and test it again. When you put it in the box, the noise should be at least 50% less.
Here is a good YouTube video tutorial on how to build a DIY generator noise reduction box.
Related Article: How To Soundproof a Dog Crate? 7 Best Ways
FAQ: People Also Ask
Can you make a regular generator quiet?
Yes, this can be done by placing a generator on a soft surface like grass or dirt. This step can help reduce the vibrations contributing to the noise level. Another method is to use sound deflectors to redirect the noise away from your home or outdoor living areas. Additionally, you can install a water muffler that uses water to absorb the noise the generator produces.
What makes a generator Super Quiet?
Generators that have a compact design with a smaller engine produce less noise. Additionally, they can run at varying output levels, providing even more noise reduction. Overall, inverter generators are an excellent option if you’re looking for a quiet and reliable power source.
Final Thoughts
If you are a person who often uses a generator, there’s nothing worse than being disturbed by the loud noise of a portable generator. Fortunately, there’s a solution to this problem – a soundproof generator box! And the best part is, you can easily make one yourself.
Using lightweight materials, this soundproof box won’t weigh you down during your camping trip. Plus, the generator will no longer work so noisily, allowing you to enjoy. But don’t forget that you must have proper airflow to prevent overheating.
Why spend money on a premade product when you can create your own and save some cash. Following these simple steps, you’ll have a soundproof generator box perfect for all your camping needs. So, get to work and start enjoying a more peaceful camping experience!